

As I create my vintage inspired wardrobe, I generally have an exact vision of what I want to make and wear. For quite a while I had an image of a 1950’s Swing Jacket in my head, I pictured deep cuffs and beautifully curved lines. I searched online for vintage patterns that ticked all the criteria I had for my jacket with no success. Yes, of course there were plenty that were almost right, but you know what, call me particular, but they weren’t quite right. I know what I like and what I want, I also know what suits me. When I see the ‘One’ I stop in my tracks, sometimes I inwardly gasp with delight as the search is finally over.
Early last year, as if by telepathy, Gertie released The Swing Coat on her Patreon site. As if by magic, there was my Swing Jacket vision in a vintage inspired pattern. Retaining all the details you would expect with a true vintage pattern, but with the added extra of being drafted for the modern seamstress. The pattern also has the choice of coat and jacket length, but for now I’ve stuck with the jacket length as that’s what I wear more often.
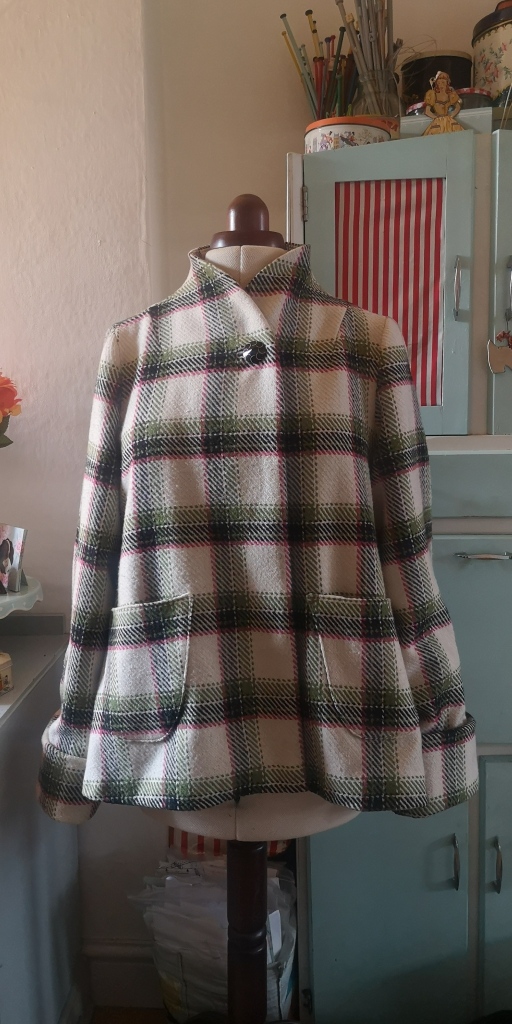
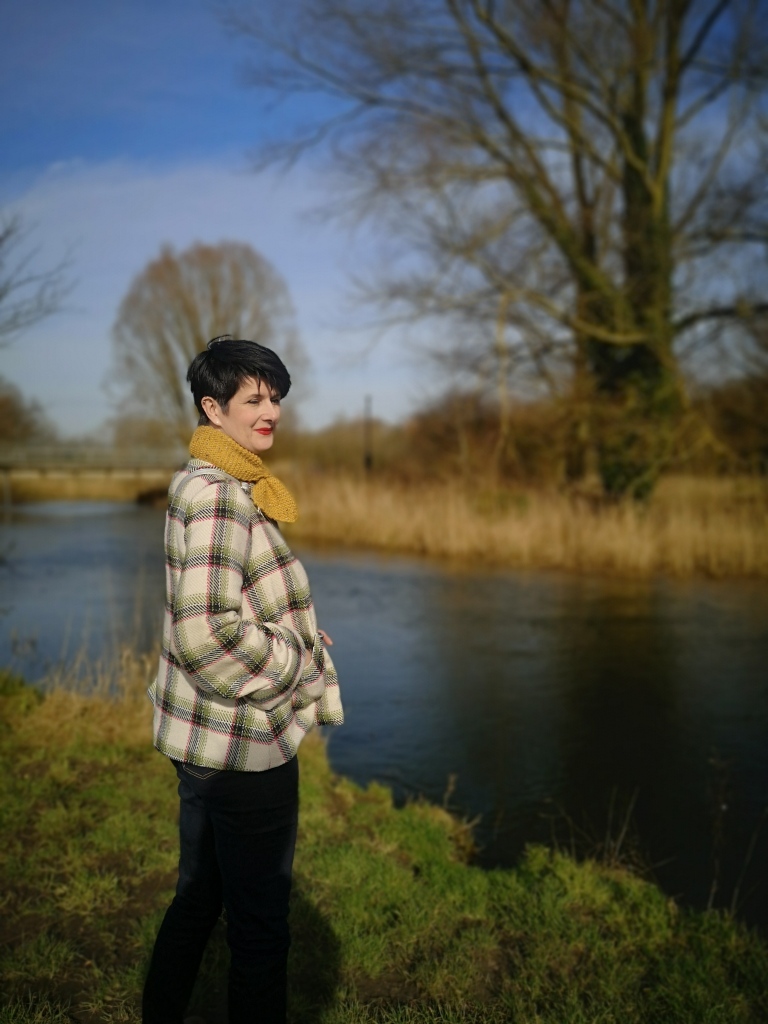
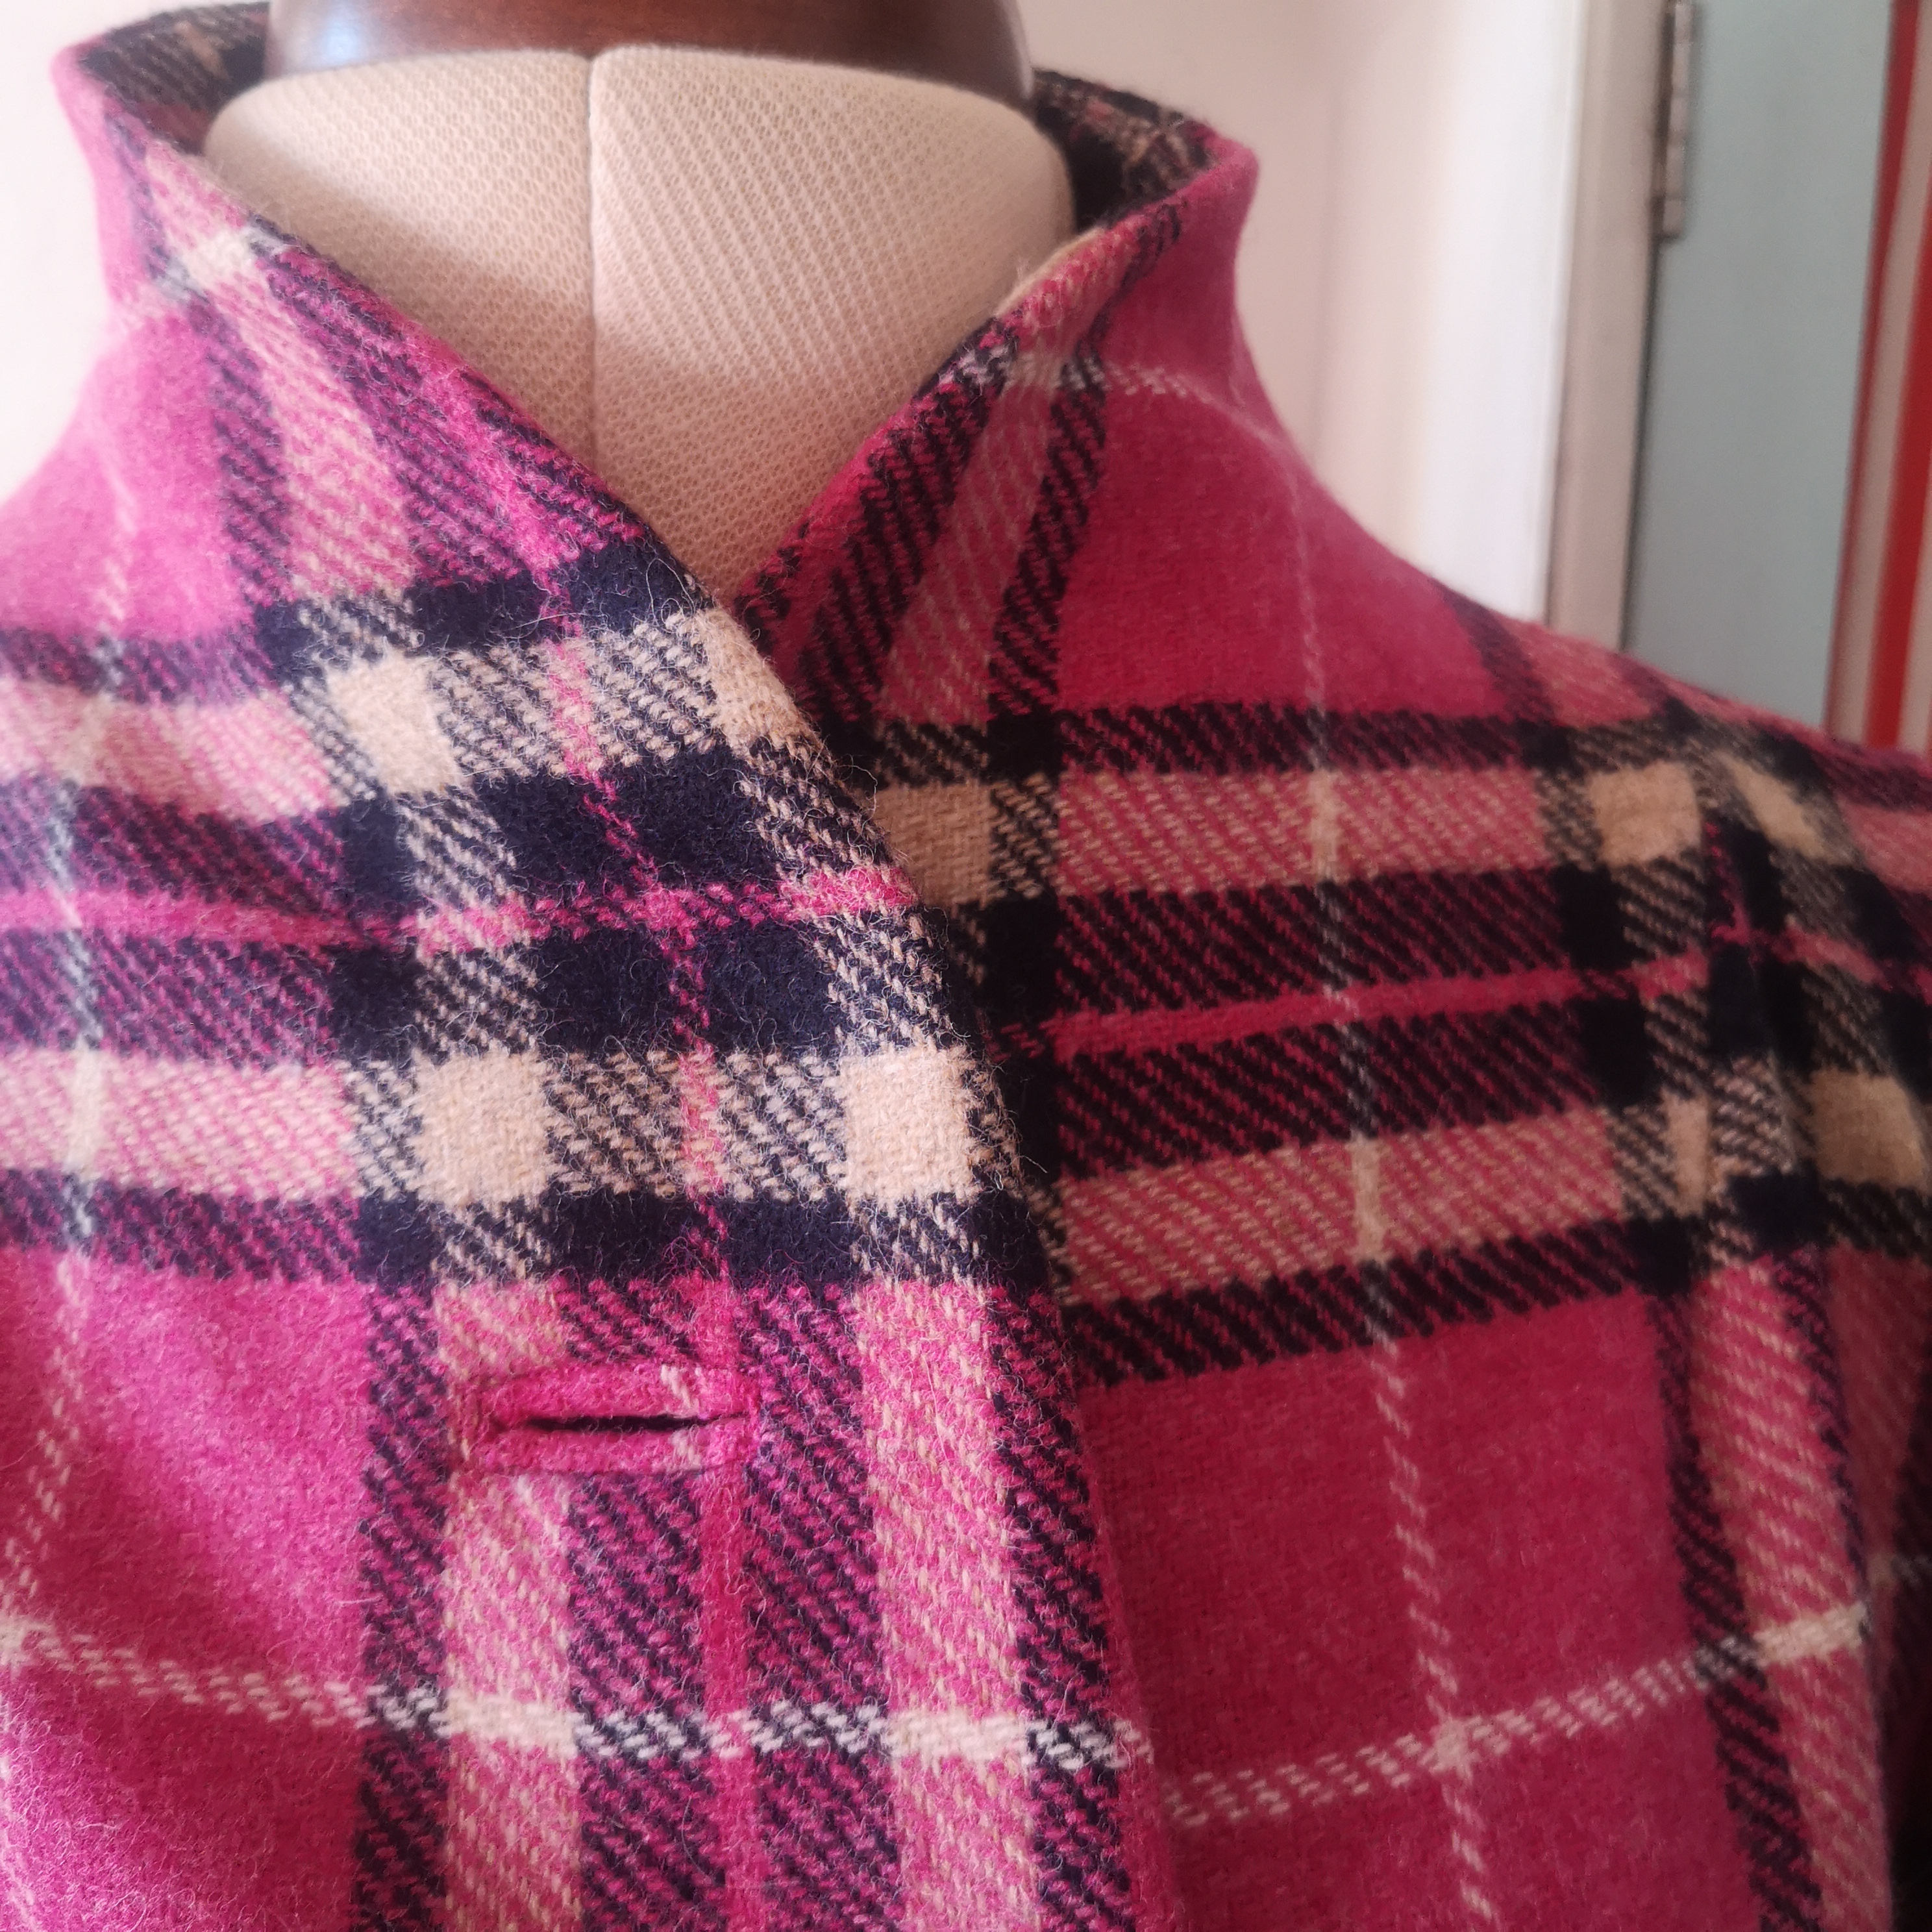
I was beyond excited to start sewing my Swing Jacket now I had a pattern. I made the first of the three versions I now have early last year and I’ve worn it endlessly ever since. I chose a cream tartan wool mix with accents of black, hot pink and apple green for version one as it works perfectly with my wardobe and has a true vintage charm to it.

I was thrilled to finally get to use a vintage cone shaped button I’ve been saving for years for the just the right project.
When I find a pattern that ends up being a favourite, I tend to create the first version following the design lines. At this point I want to nail the fit of the garment and check out the construction process. I know the pattern is a winner if my head starts to think of different possibilites for adapting and adding my own touches to it.
I kept thinking how fabulous the Swing Jacket would look in a baby pink or a warm red, but couldn’t find the exact shade of wool I had in my head. Then on a fabric browse, I spied the Abraham Moon Hot Pink Tartan at Fabrics Galore London and just knew it was the exact one for my next Swing Jacket. I already had the black and white large spot lining stashed away in anticipation.
The wool was slightly lighter in weight than I’d expected, so to give it a bit more structure and warmth I decided to interline it, something I’d not done before. Trying out new techniques and working out the how excites me. Even though I’ve been sewing forever and consider myself an experienced seamstress there’s a wealth of new things to try and more to learn with this amazing skill.
After a bit of research I chose to interline my jacket with cotton batting used in quilting. Added to this I decided to make some shoulder pads to lift the jackets shoulders as I have very narrow sloping shoulders.
I made my jacket as usual, sewing the outer jacket up to the lining stage. Then I cut my lining pieces twice, once in the spot lining and again in the batting. Before I basted these pieces together (in the same way as you would if you are underlining a pattern piece) I needed to get rid of the extra bulk that would be created by darts and pleats in the batting. To do this, I cut out the fabric where the darts were marked and removed the box shape where the back pleats sat. Then I closed up the darts and sewed them as an Abutted Seam so they laid flat (pink zig zag stitches show where I sewed the Abutted Seams). The last thing to do was to baste my lining and interlining together, before sewing my lining as I did the outer.
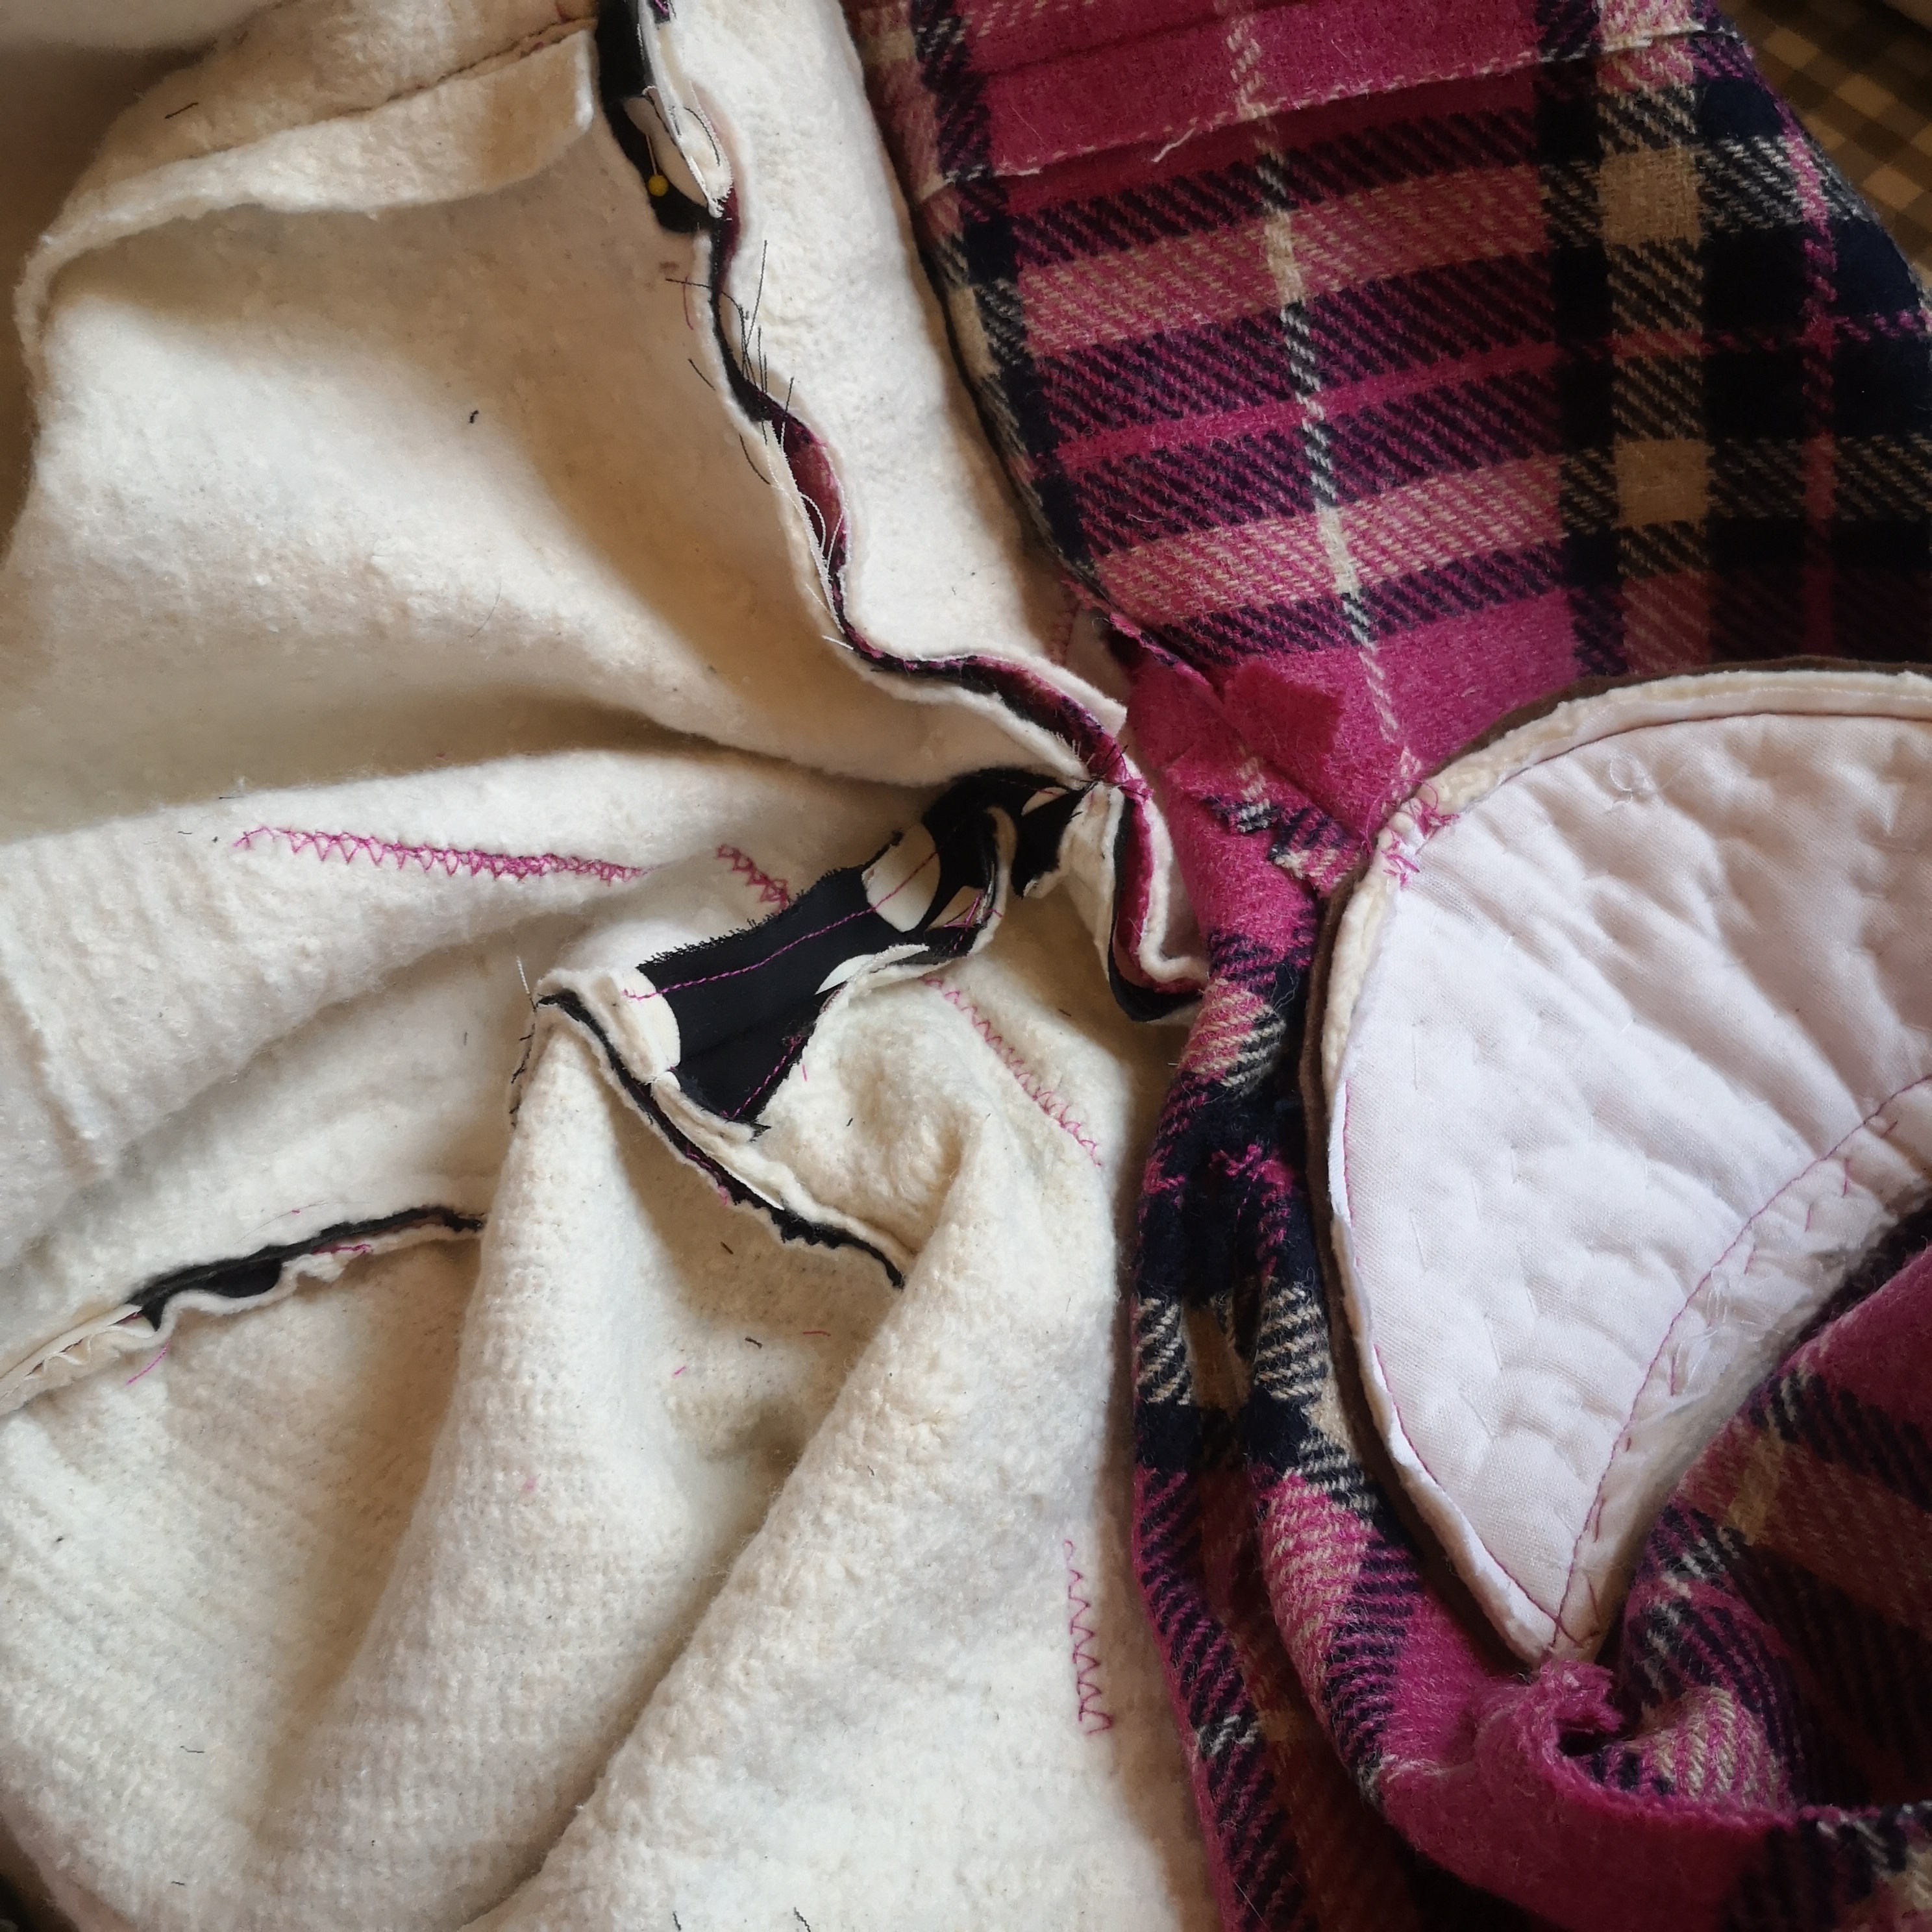
With the outer and lining sewn, I needed to make and sew in the shoulder pads which would be hidden sandwiched between the lining and jacket outer. I get pretty excited about all the secret inners & stitching of a garment which add to the overall look and structure.

I have a collection of fabulous vintage dressmaking books I use to help me with techniques not generally found in modern patterns. Packed full of information, they’re also an utter delight to look at. Following the instructions I measured the shoulder seam of my jacket for the depth I wanted my shoulder pad to be, added an extra inch at the back and marked the shoulder seam where the front and back meet for a notch to place my pad in the right position. Using the length I wanted the pad to be, I marked the measurements on pattern paper and drafted a curved half moon shape. Luckily I had felt and canvas to make the outers which I packed with layers of batting until I had the thickness I wanted for my shoulder pads.
The photo shows how I stitched through all layers to secure them and gently curve my pad. This is where I checked for fit before pinning and sewing the outer edge to the inside shoulder seam as in the previous photo.

Fast forward to lining all sewn in, vintage button chosen to finish the single bound buttonhole and my second Swing jacket was ready to be worn and loved.

It’s super cosy as I’d hoped it would be and that spotty lining makes me smile every time I see it.
My love for the Swing Jacket certainly wasn’t over yet as I still had a vision of a plain version with a leopard fur collar. To be honest, my head still hankers after a full length coat with a fur collar so that will be something I’ll save for next winter when I can finally decide on a colour. I’d love coats in all colourways to be honest, but that does feel indulgent to me as there’s only so many things I can actually wear so I try to be as considered as I can with my sewing.
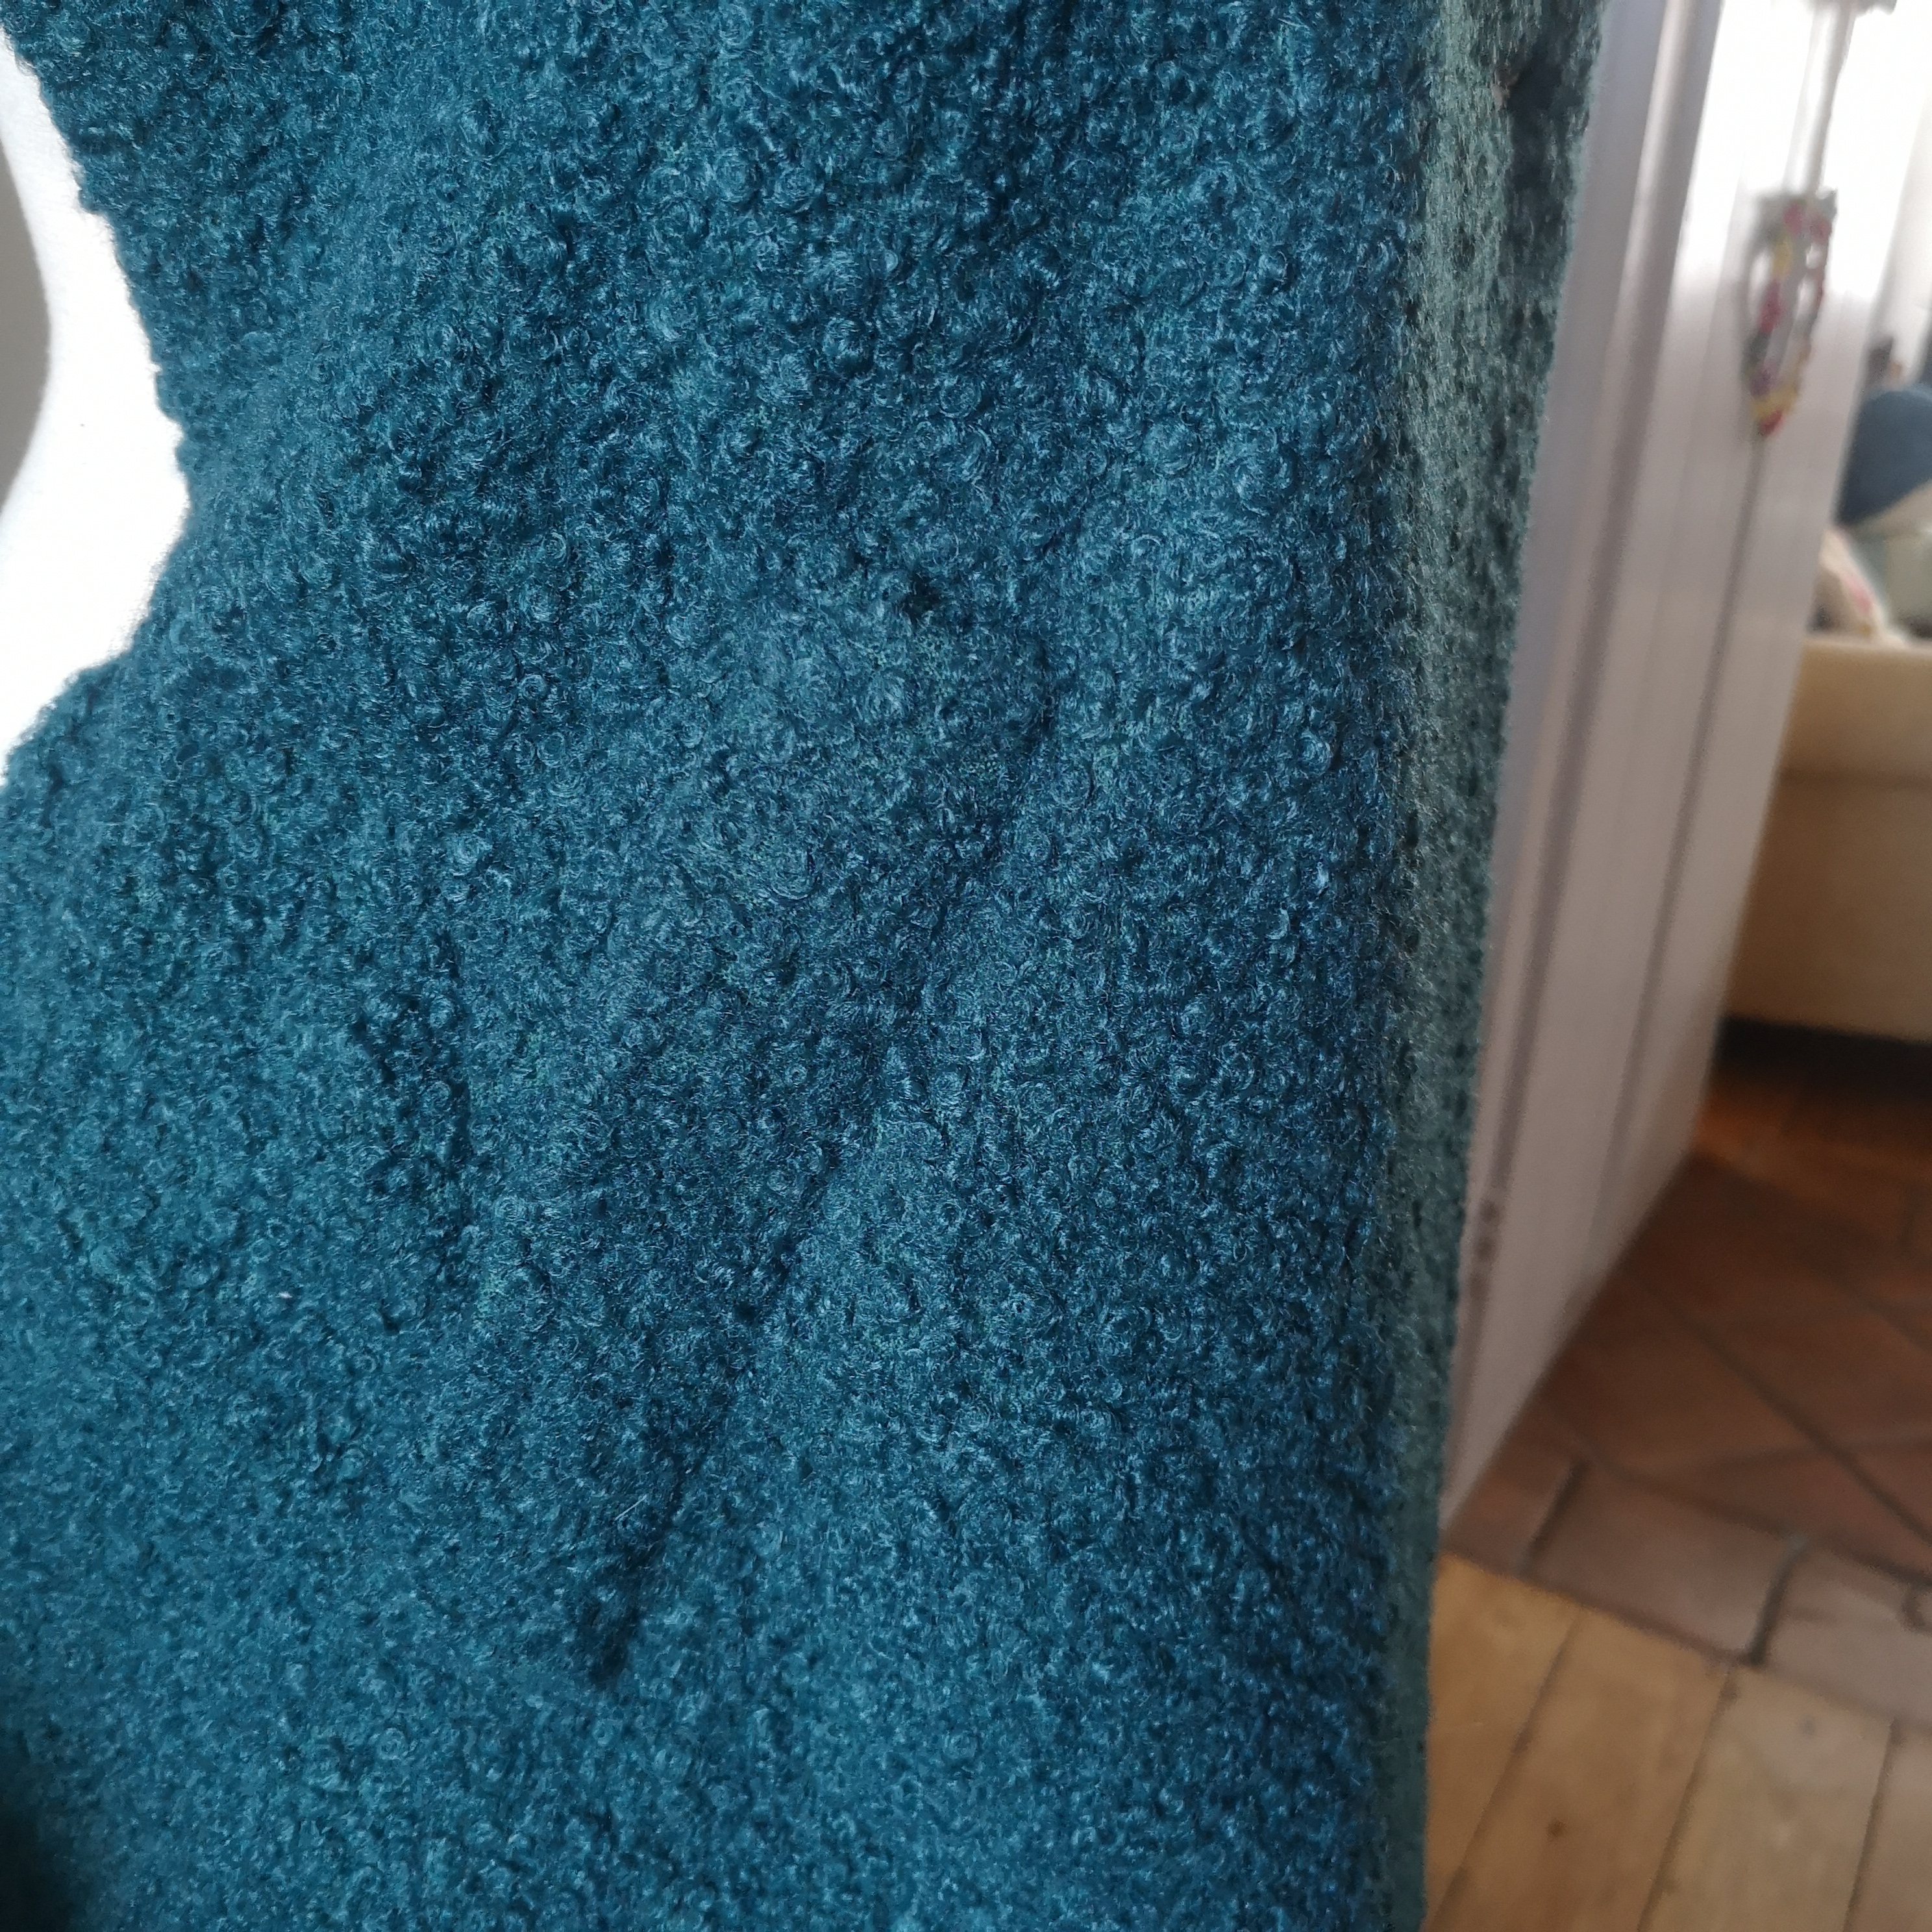
Blue and Green are two of my favourite colours, with pink coming a close runner up. A dear friend has a green vintage coat with a fur collar which I’ve always loved. It’s a coat that’s stayed in my mind as one I wanted to recreate one day. When I saw the Teale Boucle at Fabric Godmother I knew it was the perfect fabric for my next Swing Jacket. I already had the leopard fur and knew I’d be on the hunt for a leopard print lining to really make it this a jacket of vintage joy.
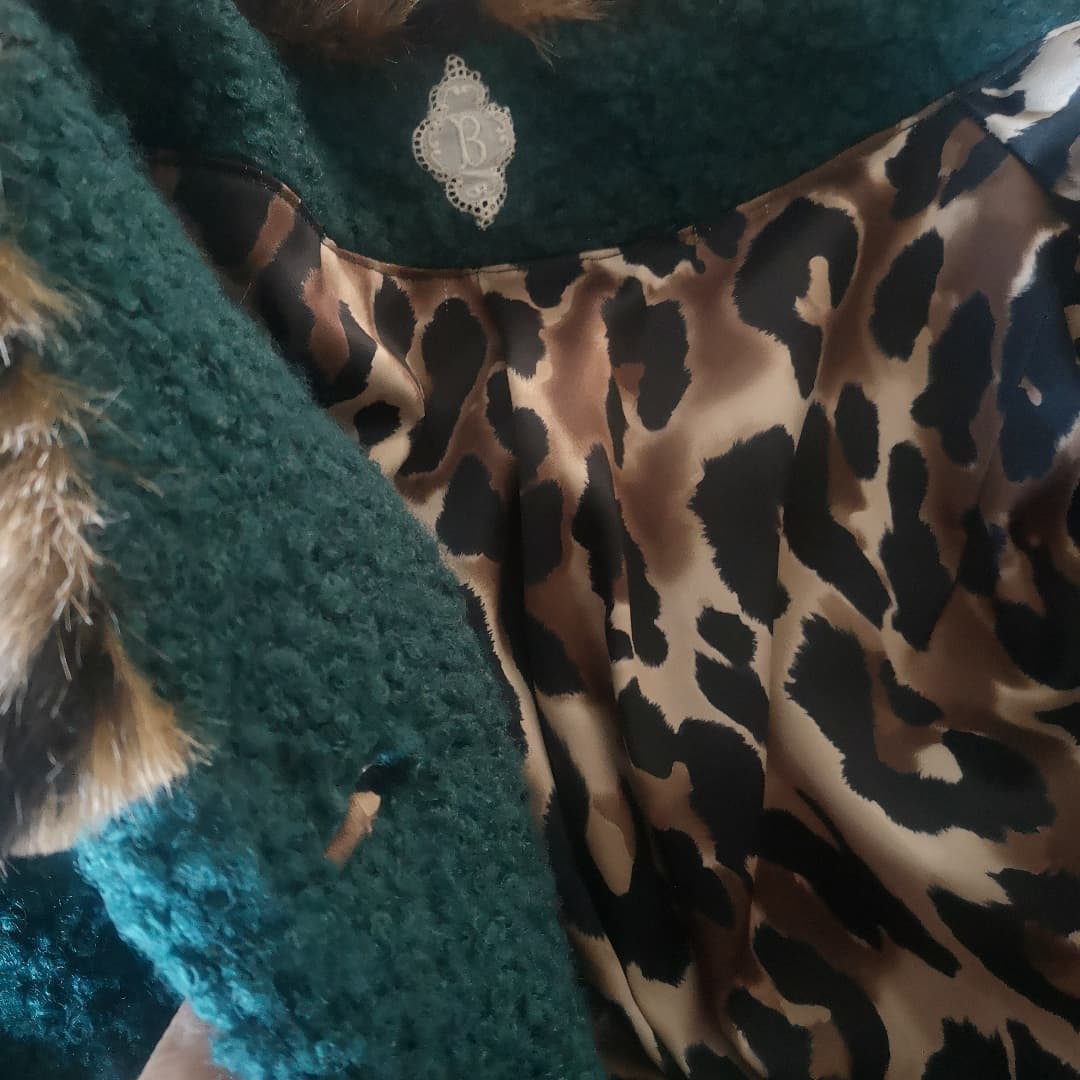
I found the exact lining material I was after in my local fabric shop, I did an inner whoop of joy as it was utterly matched the image I had in my head. It’s a stretch cotton sateen, slippery enough to slide my arms into the sleeves and with a glorious bold leopard print. If there’s more left, I’ll have to get some to make a matching wiggle dress.

I didn’t choose to interline this version as the boucle is really cosy, but I had several adaptations to the Swing Jacket pattern planned to match the Vintage Coat I had in mind. I did add shoulder pads for shaping though as I’d done before.
Gertie designed this pattern with just one buttonhole so the jacket swings out. You can either do this as a standard buttonhole or as a bound buttonhole. For me, Bound buttonholes are the only option in coats. They might be a bit of a fiddly faff and take longer, but they’re period authentic and really lift your coat to the highest finish level.
I wanted this jacket to close more securely, so I marked up my pattern for three bound buttonholes. Rather than make up the buttonhole lips with the Boucle, I used the leopard lining as I didn’t want extra bulk here. Fiddly time starts with tacking out where the buttonholes will be before adding interfacing to the WS and pin marking the boxes. Then turn to the RS and lay the buttonhole lip fabric RS together before marking out the same box again. All this before even sewing, cutting turning etc, but it’s 100% worth it honestly.

Buttonholes all turned, stitched in place and waiting to be hidden by the facings. You can see a peek of my next design line change here.
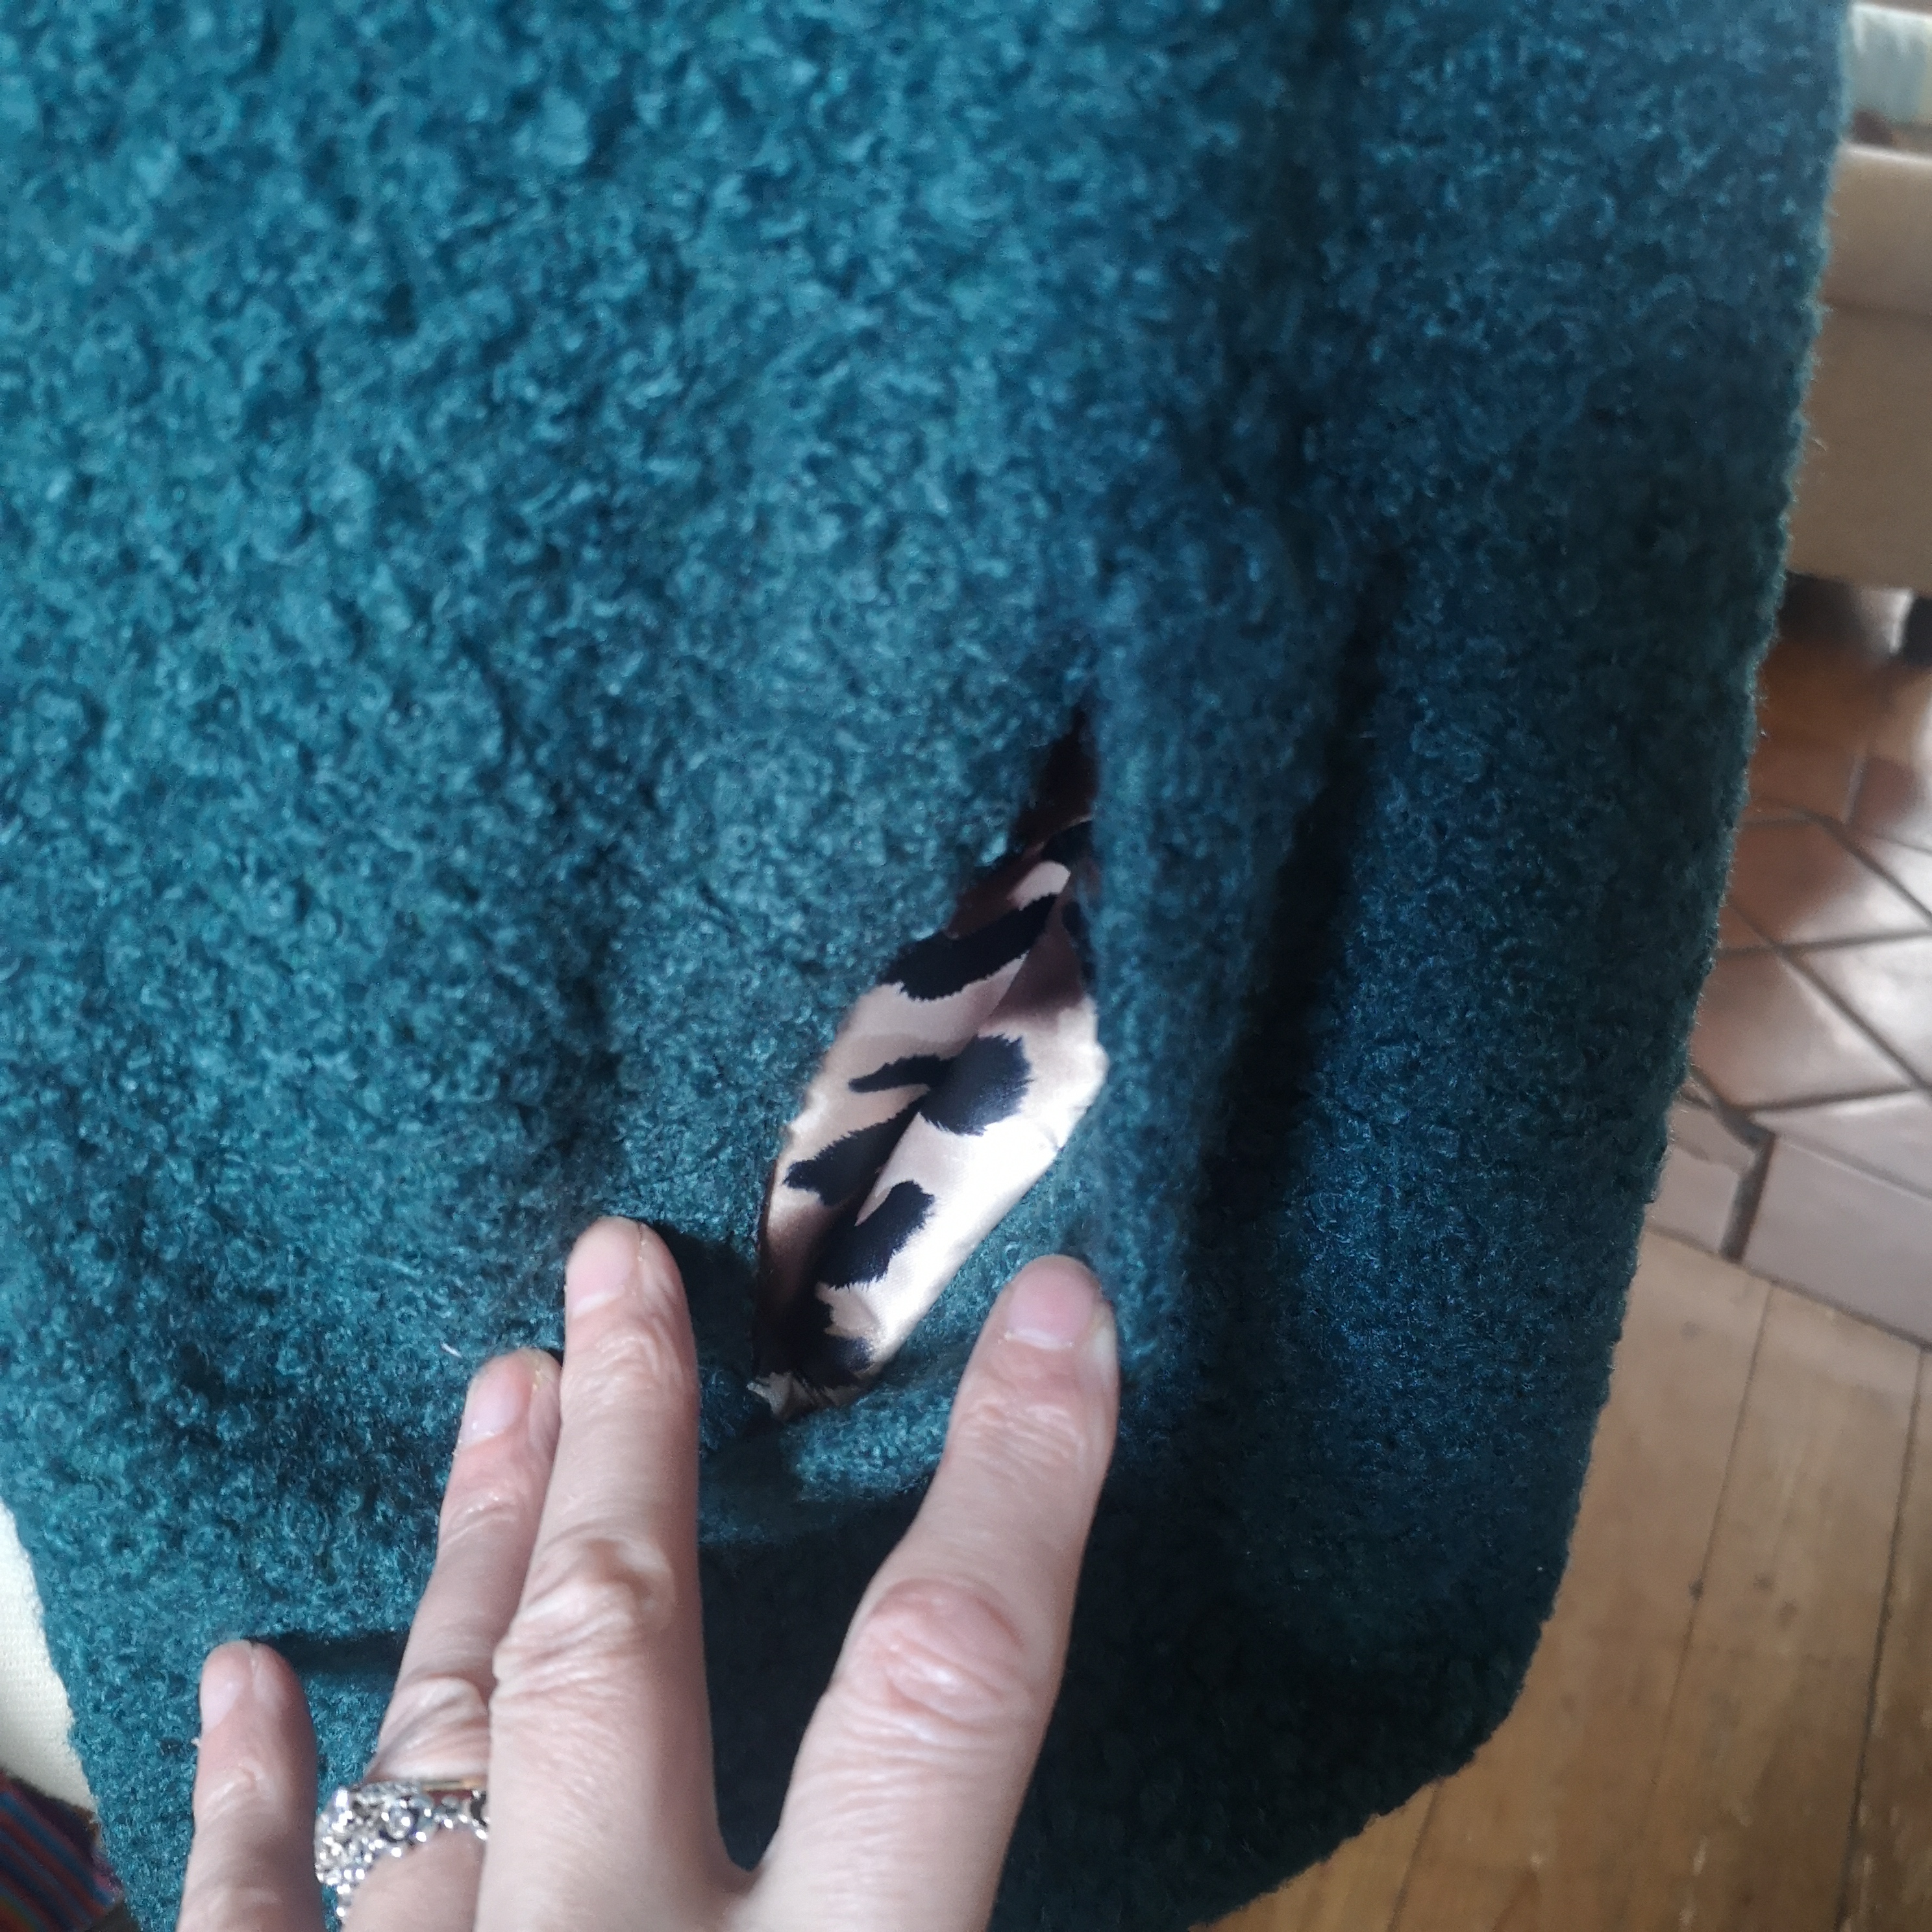
I chose to add Side Welt Pockets rather than the Patch Pockets in the original pattern. It was time to consult my 1940’s Practical Guide to Modern Home Dressmaking again for the How To draft a Welt Pocket.

To be honest adding a Welt Pocket isn’t too disimilar to the skills involved in making a Bound Buttonhole. It means spending a lot of extra time on all the extra details, but for me personally, making a garment that I’ll cherish and wear year after year, that is made with a high attention to detail, then this is time well spent.
Leopard Pocket Peek of pleasure behind that Welt.
The final change to the original design was going to be the fur collar. Really it was the whole design choice that had influenced the decisions I’d made on this Swing Jacket. It evolved as my head started whirring away.
At first I’d thought about a flat collar, which I drafted and altered from the original pattern, but then I realised I wanted a cosy fur collar that fitted snuggly up against my neck.

I realised all I needed to do was create the curved collar and then make a pattern for a fur collar with an inner and outer piece. Once I’d sewn the inner and outer collar pieces together at the upper seam, I pinned it to my jacket and handstitched all around, inside and outside.


I did consider adding matching leopard fur cuffs too. I really love them, but they were too bulky by this stage. That requires me altering the sleeve and cuffs on the pattern, so possibly one for another day.
I’m so utterly thrilled with this version which was exactly as I imagined it to be. All three Swing Jackets are different which means I get a lot of pleasure wearing each one.

This one has definitely been worn a heck of a lot since I finished it.
If I’ve inspired you to make your own Swing Jacket maybe you’ll fancy adding your own design twists to it as well.

1 thought on “Swinging Along”